License to Launch
Materials Vault

Materials Used in BOTH Controllers
Below are all of the materials used in both the basic and complex controllers. For items that are unique to each controller, there are specific sections for the basic and complex launch controllers farther down the page. In other words, you’d need to buy everything on this list PLUS the unique items for the basic and complex launch controllers based on which one you were building.
18 Gauge Wire (Internal)
This wire is used to connect all of the electrical components within the controller. We like that it comes with multiple colors so that you can color code your circuitry, specifically the positive and negative wire paths.
Note: We didn’t use this wire to go all the way out to the rocket and back (there are separate wires listed below that are much longer).
18 Gauge Wire (Goes to the Rocket)
We used this wire to go from the controller to the rocket and back. We love that it is really long (for safety precautions) and already joined together. You can peel it apart if you’d like. If you end up making both controllers, this one spool of wire should be enough to get 20ft of wire for both controllers.
Wire Connector Screw Caps
One of our favorite aspects of these launch controllers is that you can create them without any soldering. The way we do that is by using these connector caps to join the wires and complete our circuits. They are super easy to use and provide for a safe solder-less connection. You can also pick up a pack of these at your local Home Depot or hardware store.
LED Lights
These were a bit tricky to find since you need the lights to be able to be illuminated with just 6v of battery power and also serve as a resistor in the electrical circuit. This is how we are able to make the continuity lights illuminate without actually launching the rocket. We like this variety pack so that you can choose which colors you are using for your power lights and continuity lights. We went with red and blue but there are six colors to choose from here.
Metal Light Mounts
While the lights look cool, we wanted to give it that industrial look to actually mount them in a metal holder. These holders work perfectly with the lights listed above and give it that extra polished look!
Rocker Toggle Switches With Cover
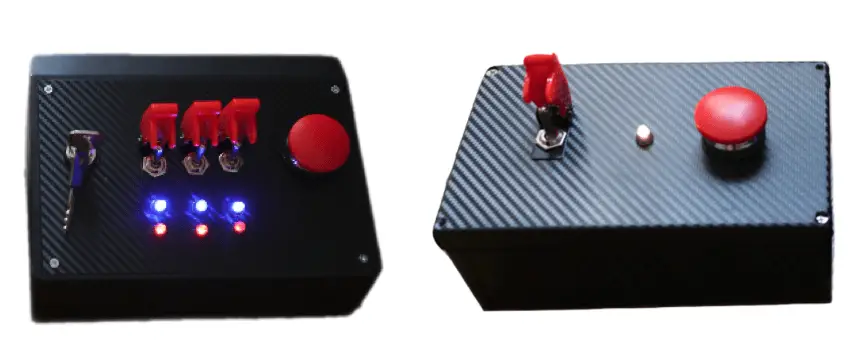
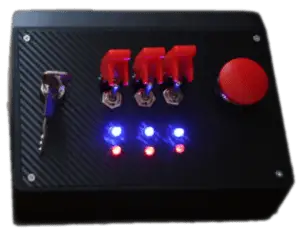
These look soooo cool and we love the really eye-popping red covers that come on them. It’s a safety feature to ensure you can’t accidentally flip these on, but it also adds another fun element to flip the cover up and THEN flip on the switch. We love these.
Irresistibly Big Red Launch Button
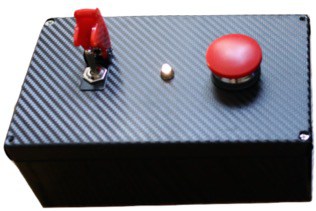
Smashing this huge red button is by far the coolest part of the launch. It’s wayyy better than pushing the little plastic button on the standard controllers. Whether you’re 8 or 80 years old, this thing is heck of a lot of fun to push.
Black Vinyl Covering
This vinyl is what gives the controller that polished, industrial look. It’s also very easy to apply! 1ft x 5ft should be more than enough for the front cover of both controllers.
Battery Packs
These house the four AA batteries that give us about 6 volts of power to our launch controllers.

Complex Controller
Below are all of the materials SPECIFICALLY used in the complex launch controller covered in License to Launch. The rest of the materials are common to both the basic and complex controller. In other words, you’d want to buy everything on the “general” list, PLUS everything listed here that is specific to the complex controller.
Controller Housing
This is the base of our controller. We’ll spray paint it black and also add vinyl to get that polished finished look! We loved that it was angled towards you, kind of a like a large control panel in real life would be.
Matte Black Spray Paint
We like the matte black here, but you can also do regular glossy paint. We think the matte finish pairs nicely with the vinyl for that industrial look, but it’s totally up to you!
Key Switch
Here’s the key switch that serves as the master on/off toggle on the controller. We love this key switch because it’s so simple but the metal gives it an industrial look. Very easy to use!
Electronic Buzzer
As mentioned in the training videos, the buzzer helps not only for aesthetic purposes but also as a safety measure. Sometimes during really bright days it can be hard to completely see the continuity lights on the controller, so our buzzer gives you an added signal that the rocket is ready to launch.

Basic Controller
Below are all of the materials SPECIFICALLY used in the basic launch controller covered in License to Launch. The rest of the materials are common to both the basic and complex controller. In other words, you’d want to buy everything on the “general” list, PLUS everything listed here that is specific to the basic controller.
Controller Housing
This is the base of our controller. We’ll also add vinyl to get that polished finished look! No need to spray paint this one since it’s already black (unless you want another color like yellow, etc.).
Optional Extras (Used in the Video)
Here are a few more pieces of gear used in the video (not the exact ones, but the same types of tools) that you might want to order as well. They aren’t mandatory but will make things a bit easier.
Multimeter
You can use a multimeter for TONS of different things, but this is a helpful tool when checking the circuitry of our model rocket controllers.
Heat Gun
This is used to apply and heat shrink the vinyl more easily. You can always try using a hair dryer as well and if that doesn’t work you can get more official about it and use a proper heat gun. It serves a lot of other household purposes, too!
Drill
You probably already have a drill, but if not, every house needs a drill. Here’s an inexpensive reliable one.
Drill Bits
For the larger holes we’ll be drilling to fit the switches and launch button, you might need some larger drill bits.
Sandpaper
Used for smoothing out the surface of the controller after we drill the holes, in order to give the vinyl a nice flat surface to adhere to.
Basic Safety Glasses
Safety first! You’ll be dealing with some light drilling so it’s always safe to cover your eyes properly.
Wire Stripper
This tool greatly speeds up and simplifies the wire stripping process. You can do so with a razor blade or knife but it’s easy to accidentally cut the wire. This tool was made to fix that!


