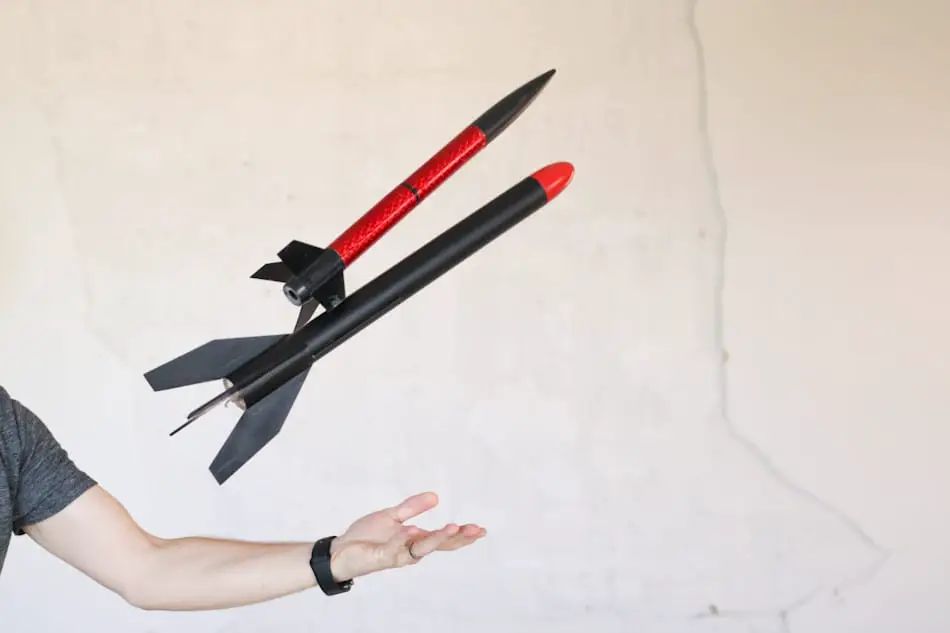
There is nothing cooler than getting a video of your rocket’s launch from on board the rocket itself. To get the rocket’s eye view of what it is like to launch thousands of feet into the air is humbling and inspiring, but you wouldn’t want to just strap any camera to your rocket before launch.
So, what is the best mounted camera for a model rocket? The best mounted cameras for model rockets are spy cameras like 808 keychain cameras, U8 USB cameras, Mobius Mini cameras, or for a larger rocket and high quality video a lightweight GoPro.
While in theory you could attach any camera to your model rocket and launch it, it is not the best idea as the added weight could destabilize the rocket and you could risk losing an expensive camera as well as the rocket. Continue reading for all the details on cameras that can be safely used with model rockets.
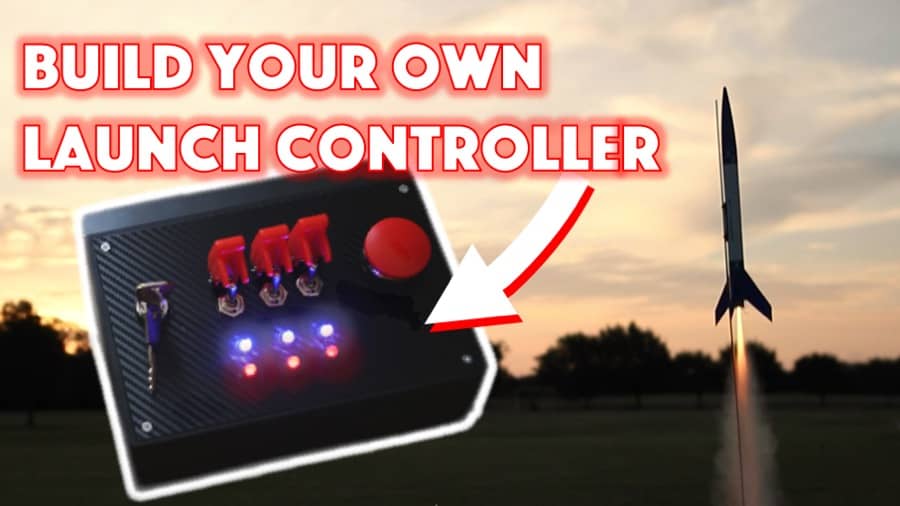
Are you still using the standard Estes controllers for your launches?
We just built our own beautiful launch controllers that make launches SO much more fun, and we documented EVERY single step and item purchased and put it into a step-by-step course that teaches you how to do the exact same thing.
Click here to learn more about how you can build your own launch controllers!
The Best Cameras for Model Rockets
The best cameras for using on a model rocket are small, lightweight, and durable. The smaller the camera the easier it will fit securely to your rocket, and the more lightweight it is, the less impact it will have on your rocket’s performance.
Durability is also an important factor as the camera will need to be able to land with the rocket without getting damaged.
Keychain Cameras
The most commonly used camera for capturing your model rocket’s flight are keychain cameras, also known as 808 cameras. These cameras are meant to be unassuming spy cameras that look like a key fob, but they work great for model rocketry.
There are many different makers of 808 keychain cameras. They are definitely not all the same quality, and knock offs are rampant. Buy from a reputable source to ensure that you are getting what you’ve paid for.
Keychain cameras often use a number rating system to describe the camera. The #16 is a commonly used 720p version, but with HD video becoming cheaper and cheaper to obtain many opt for the 808 #32 which offers full HD for a similar price.
The keychain 808 camera listed on the Apogee website has a resolution of 640 by 480 and captures at a rate of 30 frames per second. It costs under $30.
The Mate808 (link to read reviews on Amazon) offers full HD 1080p, wide angle video for a relatively low price. It weighs a little more than half an ounce, which means it can be strapped to a good number of model rockets without destabilizing them.
You can check out the video below to see what you can expect from the Mate808 attached to a model rocket. The video quality is pretty good considering the price point.
All keychain cameras require that you use a microSD card with them, and you will have to buy one separately. You can attach them to your computer with a micro USB cable and transfer the video from the camera to your computer.
You will also want to keep the manual handy as the buttons are not usually labeled, and it will take a couple tries before you get used to using it. In a world that is used to touch displays and intuitive technology, this can become frustrating.
U838 USB Stick Camera
The USB stick camera is a good alternative to the keychain camera. It is another spy cam, but this one is meant to look like a thumb drive instead of a key fob. The USB stick camera’s narrow, rectangular body makes it ideal for use with a slim model rocket.
Like the keychain cameras, the U8 USB stick cameras can be purchased at different levels of quality and there are plenty of knock offs that will not do the best job. Be sure to purchase from a reputable seller. All U8 USB stick cameras will require that you purchase a micro SD card separately.
The U838 USB stick camera sold through Apogee is tiny at only .67 ounces. It is 3.03 inches long, 1.05 inches wide, and .5 inches high. One of the advantages of this U8 camera is that the buttons are labeled which makes it much easier to use. It also takes HD video with a resolution of 1920×1080.
It costs $99.99, but other versions can be found through other retailers like eBay or Amazon at a price point closer to keychain cameras. Remember, however, that the cheaper a camera is, the more likely it will be that you are getting a lower quality product. It seems too good to be true, it probably is.
Here’s a sample of the U838 camera in action.
Mobius Mini
The Mobius camera (link to read reviews on Amazon) is a great lightweight option. Coming in at only 1.2 ounces it can still shoot full 1080P video with a two hour battery life. Considering its size that’s pretty impressive.
It is a little heavier than the USB stick camera, and it is shorter and wider. This may not make a difference to you, depending on the model rocket you plan to mount it on.
If you compare the videos of the keychain and USB cameras to the below video of the Mobius Mini, you can clearly see the difference in quality. The Mobius takes a much nicer video, but it also costs more than the cheaper versions of the keychain and USB cameras.
GoPro Cameras
GoPro cameras are the go to for action videos because they are small, relatively lightweight, highly portable, powerful, and rugged. These cameras offer something many of the other options don’t, and that is a reliable name brand.
A word of caution about GoPro Cameras for model rocketry: Even though GoPro cameras are lightweight compared to many other digital video cameras, they are the heaviest cameras on this list. For most small, entry-level rockets (basically any Estes rocket), these cameras will be too big and too heavy to safely mount on a rocket as it will significantly impact the rocket’s flight path. Unless you’re building larger rockets that you are confident can handle the weight, I’d stick with a USB camera as mentioned above, using our mounting advice below.
GoPro Hero7
The GoPro Hero7 Silver and GoPro Hero7 White (links to read reviews on Amazon) would both be suitable for larger rockets (see caution above). The higher end GoPro Hero7 Black is larger and heavier but could still be used on larger rockets if you really wanted to.
The Silver and the White Hero7’s weigh approximately 3.3 ounces, and they are both 2.44 inches long, 1.76 tall, and 1.11 inches wide. The dimensions are very similar to the Mobius, but obviously the Hero7 Silver and White are almost 2 full ounces heavier.
The advantage of the Silver is that is can take 4k video, while the White shoots in 1080p, but the Silver also costs more than the white. For something you’re about to launch hundreds of feet, maybe thousands of feet into the air on a cardboard tube, you might not be interested in investing at this level.
I couldn’t find a video of someone launching one of these specific models on their rocket’s because they were released recently (as of the time of this writing), but this video shows all three versions of the Hero 7 in action.
The image quality of the white and silver does not appear to be far from the Mobius cameras, but the benefit of the GoPro is that it is more rugged. On the other hand, it is also more expensive, so it is a hard choice.
GoPro Hero Sessions
GoPro doesn’t make the Hero Session anymore, but you can find refurbished or used ones for about half the price of a new camera.
The GoPro Hero Sessions is a great choice because it can shoot full HD video and it only weighs 2.6 ounces.
The session is the only cube shaped camera on this list. Each side of the cube measures approximately 1.5 inches. Because it is so small, it would install nicely inside some larger diameter rockets.
You can find refurbished GoPro Hero Sessions for around $80 online.
If you would like to check out the quality of the GoPro Hero Session, you can see a rocket launch with it in this video:
Estes Cineroc
Time for a little history lesson. If you’re getting into model rocket videography, this will probably amaze you as much as it amazes me.
Between 1970 and 1975, Estes introduced the Estes Cineroc, which was a rocket that had an 8 mm camera in its payload. There is some amazing footage available from this time period of rockets being launched before the digital age.
Estes even offered a processing service for the film, and you had to watch it on a projector. How the times have changed!
The Cineroc was highly sought after, as you can imagine, but Estes had to stop making due to an issue with a supplier. Many model rocket enthusiast still search for the Estes Cineroc today to add it to their collection.
This might not be the best camera to launch with today, but the Estes Cineroc is too cool not to mention.
How to Mount a Camera to a Model Rocket
Model rockets aren’t usually made with cameras in mind but mounting a camera to your model rocket can be as simple or as complex as you want it to be.
Before selecting a mounting method, consider what direction you want the camera to face. The simplest way of attaching the camera to the rocket work better with the camera pointing towards the ground, and you will see that this is the direction you see in most YouTube videos. Here is a video that employs this method:
If you intend on putting your camera inside the rocket, then the camera will most likely be pointing out in a horizontal direction. You can see what this camera direction looks like in this video:
Electrical Tape
One of the most common and easiest ways of mounting the camera to your rocket is by using electrical tape. Electrical tape is preferred because it is flame resistant, and you can usually peel it off the rocket and the camera without too much trouble.
Simply wrap the tape around the rocket and the camera without covering the camera’s lens, and you’re ready to fly.
It might not sound very secure, and it certainly doesn’t look pretty, but many a model rocket has flown with a camera attached this way. As mentioned above, this technique will likely only work with very small, thin, lightweight USB cameras and not something bulky like the GoPro. Use discretion when deciding how to mount your rocket camera, exercising caution to not jeopardize a stable flight path because you mounted a heavy camera on the side of the rocket.
Velcro Button and a Camera Hood
You won’t need as secure an attachment method if you are using a camera hood. Camera hoods are an aerodynamic plastic covering that protects the camera from the force of the air blowing past it. Apogee Components sells these clear ones for about $10.
To use this method, you would install velcro buttons on the rocket and the camera, attach the camera to the model rocket and then install the hood over the camera. The hood should be installed securely with tape. Use clear tape to allow your paint job to show through.
The hood cannot be installed permanently because you will need to open the hood to be able to remove the camera after the flight.
The hood will help make the flight more aerodynamic and will help protect the camera, but these premade versions can only fit certain sized cameras and certain sized rockets.
Alter the Payload
The only way to install a camera on your rocket without it adding drag is to put it inside the rocket itself. It will still add weight to the rocket of course, and if it is not installed in the center of the rocket, it can make unbalanced. Generally, if the rocket is large enough to accommodate a camera, this won’t make a huge difference to the launch.
If you purchase a model rocket that has a payload section, it is easy to modify that section and slip your camera into as long as it is big enough.
The main concern is securing the camera in the tube. You do not want the camera to fall out or shift into a position where it cannot see through the peephole you will create. However, you also cannot permanently affix in inside the rocket unless you don’t want to be able to use the camera in a different rocket.
The method that you use for securing the camera to the inside of the model rocket will vary depending on how large the rocket is and how difficult it is to fit your hand in the tube.
If the tube is big enough (or your hand is small enough) you could use tape to secure the camera in place, otherwise, you might have to get creative or try the avionics bay method.
Be sure to precisely drill the peephole where the camera lens will fit and smooth down the outside of the hole with sandpaper. This is best done before your paint job so that you don’t ruin your hard work.
Avionics Bay
The best way to secure your camera in the inside of the rocket would be to use an avionics bay, also called an altimeter bay or an electronics bay. These bays are made to fit below the nose cone of the model rocket and to securely hold and protect electronic equipment.
Here is a video of someone putting together an electronics bay, if you would like to get a clearer idea of what is involved.
You would need to attach the camera to the mounting sled inside of the avionics bay. This could get tricky if your camera does not fit snugly against the side of the rocket. You may need to build up the sled a little so that the camera sits flush to the rocket’s tube.
Once again, you will need to drill a precise hole where the lens of the camera will be inside the rocket.
Alternatively, this tutorial explains how to insert a camcorder (make anyone feel old?) style video camera through the body of the camera so that it sticks out at both ends. This method uses an avionics bay and Kevlar string to protect and secure the camera as well.
It isn’t the most aerodynamic or pretty, but this could be a great way of making use of an older model camera.
This method may cause an increase in drag, but it is an interesting way of getting a larger camera into the rocket.
No matter what camera you choose or how you decide to mount it, the footage you get will give you hours of entertainment. You’re going to need a bigger hard drive to store all of the model rocket launches you record.
Build Your Own Launch Controllers
Don’t forget! You can ditch the stock controllers and confidently build your own from scratch using our step-by-step instructions and exact materials list! We promise this will make your launch experience 10x better, and using our course License to Launch you can be 100% confident you’ll be able to finish this project and be super proud of what you’ve built! Here’s a sneak peek below.