Building a model rocket requires that you pay attention to every detail and the paint job you apply to finish the project is no different. A little time and a lot of care will help your rocket look the best and fly the highest.
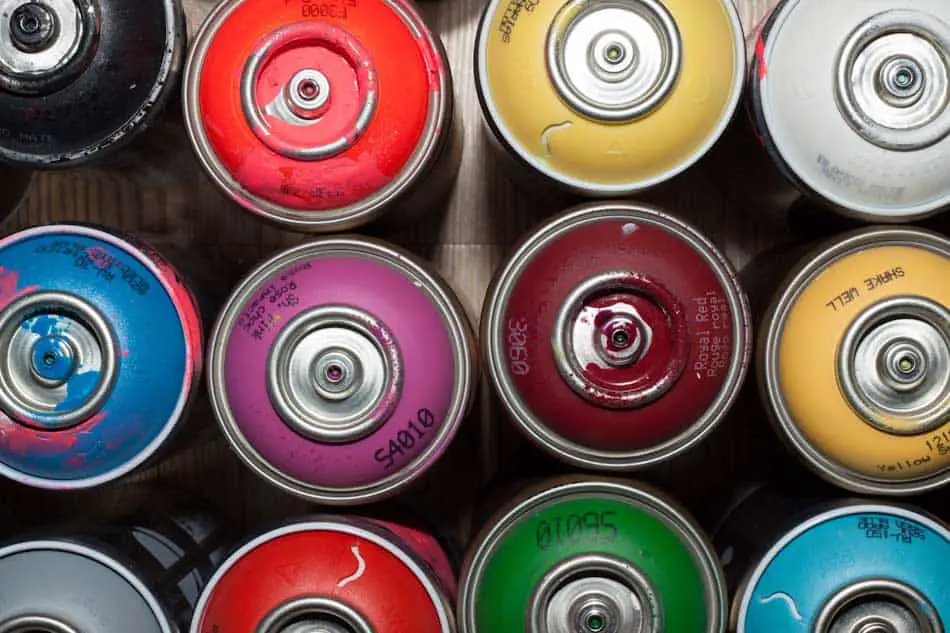
But what are the best paints for model rockets? Most model rocket builders prefer to use spray paints because they are lightweight. Commonly used brands are Testors, Model Master, and Tamiya model spray paints, Dupli-Color automotive spray paint, and Rust-Oleum spray paint.
If you are about to paint a model rocket and want all the details on how to get the best-looking paint job on your rocket, continue reading. I will detail the different kinds of paint you can choose from as well as how to ensure that your paint job looks good regardless of paint choice.
Are you still using the standard Estes controllers for your launches?
We just built our own beautiful launch controllers that make launches SO much more fun, and we documented EVERY single step and item purchased and put it into a step-by-step course that teaches you how to do the exact same thing.
Click here to learn more about how you can build your own launch controllers!
The Best Paints for Model Rockets
Ideally, the best paint for a model rocket would be one that is lightweight, durable, and long lasting. The paint must also help create a smooth finish.
Spray Paint
Spray paint is the preferred paint for model rockets because it goes on in a thin, lightweight layer, covers well, and creates a smooth finish.
An alternative to the spray paint that comes in cans, you could use a paint sprayer or an airbrush to apply paint in thin, consistent coats, but these are considered advanced methods.
Generally speaking, there are two types of spray paint you might use for model rockets: lacquer spray paint and enamel spray paint. Which you choose is truly a matter of preference. Some people swear by lacquer, while others prefer enamel. Experiment with both types to see which you prefer.
Lacquer paint is lighter and dries faster, but it is also less durable, more expensive, and harder to find compared to enamel spray paints. Many people also believe the lacquer spray paint creates a nicer looking finish.
Enamel spray paint is less expensive, easily located, and very durable, but it takes much longer to dry and is heavier, which means it will take longer to finish your rocket.
Testors and Model Master
Testors and Model Master appear to be two different brands, but they are both owned by the same company. In fact, Testors, Model Master, and Rust-Oleum are all owned by the same company, RPM International.
Testors is a long-time maker of craft paints, and it is one of the best model paints out there. Its paints are specifically made for use on all types of models including model rockets.
Testors makes both enamel and lacquer sprays for around the same price. They also offer glitter spray paints, fluorescent spray paints, and color shift spray paint (links to read reviews on Amazon).
Color shift paints have an interesting visual effect. The color will appear to change depending upon what angle you are looking at it from.
Tamiya
Tamiya is another company that specializing in paint for models. They make a synthetic lacquer spray paint (link to read reviews on Amazon) that is meant to be used on model airplanes, but it can be used on model rockets as well. They also make a line of bottled paint that is good for painting small details.
Tamiya is one of the few brands that offers lacquer spray paint in more than just black and white colors. They have several greens, blues, grays, and tans as well as brighter colors like red, yellow, pink, and orange.
Dupli-Color
Dupli-Color spray paints are meant for automotive use, but many model rocket builders swear by Dupli-Color. Since it is a paint intended to be used on cars and trucks, it is extremely durable and long lasting.
Dupli-Color offers both enamel and lacquer sprays, but the lacquer sprays basically only come in black, white, and gray, while the enamel has 15 color options including several varieties of black and gray as well as blue, red, yellow and green.
One of the best things that Dupli-Color has to offer is their filler, which is a part of the primer series. This does a fantastic job of filling in any imperfections on your rocket. You can then sand it down and reapply until you have a smooth finish that you can sand again and then paint over.
Be sure that you do not confuse the Primer Series Filler with the 2-in-1 Filler and Sandable Primer. This is a completely different product and many model rocket builders have not been satisfied with it when used on model rockets.
Rust-Oleum
One of the best things about using Rust-Oleum is that it is a sort of one stop shop when it comes to spray paint, and you can find it at any home improvement store. Rust-Oleum spray paint comes in a wide variety of finishes, textures, and colors.
Their line of all-purpose spray paint is called Painter’s Touch 2x, and it is generally less expensive than other options we mention here.
They make just about any kind of spray paint you could think of including automotive filler paints, lacquer paints, and enamel paints. You can get metallics, protective finishes, different colored glitter paints, glow in the dark paint, color shift paint, and mirror effect paint.
The lacquer paint colors are once again limited to black, white and clear, but you can get the enamel paint in semi-gloss, gloss, satin, or flat finishes and just about any color you could imagine.
Best Paint for Children Building Model Rockets
If you’re working on building a model rocket with a young child, or one that just isn’t ready for the responsibly of wielding a can of spray paint, then you can use any non-toxic craft paint for the rocket.
Paints to Avoid:
- Toxic Paint
- Watercolor paint
- Tempera paint
- Finger paint
Especially if your model rocket is paper, you will want to avoid any paint that is too wet. Additionally, certain paints like tempera paint and finger paint sometimes flake up and fall off after they dry on certain materials.
Consider applying filler and/or primer yourself before having your child paint the rocket for the best finished product. Once they have painted the rocket and it has dried, you can apply a finished to protect their art and add some shine.
Ideally, your child should not pile the paint on to keep the rocket as light as possible, but at the end of the day, it is their rocket and the rocket will still fly just fine.
Alternatively, you can use stickers to decorate the model rocket instead of paint. This is great for a kid who isn’t really that into decorating the rocket.
How To Paint a Model Rocket
No matter what paint you choose to use, your model rocket’s paint job is not going to look good unless you prepare the rocket for painting and paint it well. The best paint in the world can’t make up for a rushed job.
In this section, I will be going over everything you need to know to paint your model rocket including the materials you will need, how to prep the rocket, how to paint it, and how to finish it off.
What You Will Need
Before you begin to paint your rocket, make sure you have all the materials that you will need to complete the task. Here is a list of materials you might need.
- Model Rocket
- Filler
- Sandable primer
- Spray paint
- Top coat
- 400 grit Sandpaper
- Newspaper
- Masking tape
- R95 face mask
- Latex gloves
- Decals (optional)
- Bottled paint for details (optional)
- Paint brush for details (optional)
Step-by-Step Guide to Painting a Model Rocket
- Makes sure that you have a clean workspace and all of your materials are ready to go. You should always use spray paint in a well-ventilated area and wear an R95 face mask to protect your lungs.
- Lay newspaper down beneath the area where you want to spray paint. You may need to use several heavy objects like rocks to hold it in place if you are outside.
- Lightly sand the rocket on all of the places you intend to paint. This includes the fins and the nose cone.
- Remove the nose cone and stick newspaper into the top of the rocket. Paint the nose cone separately. Do not get paint on the shoulder.
- Spray the rocket with the filler following the instructions listed on the filler that you purchased.
- Allow the filler to dry and sand the rocket until it is smooth. You may need to apply a second coat of filler if the imperfections in the rocket are still showing through.
- Use a spray primer following the instructions listed on the primer.
- Sand the rocket lightly again. The rocket needs to be a little rough so the paint can stick to it.
- Select the color that you want the barrel to be and spray paint the whole thing that color, unless you want the fins to be a significantly lighter color than the body in which case you would need to tape them off precisely.
- Follow the directions listed on the can of spray paint you purchased.
- Favor a light coat over a heavy coat to keep the paint from pooling or running.
- Allow to dry and sand the rocket again. You may need to apply 3 or 4 coats of paint to get the look you want. Be sure to lightly sand the rocket between each coat.
- If you wish to paint the fins a different color, use masking tape to protect the area near the fins you do not want to paint. Wrap a thick layer of newspaper around the barrel.
- Paint the fins just as you did the barrel. If the fins are wood, they may require more layers of paint and more sanding to get a smooth finished product.
- Once the rocket is dry, you can paint any small details you would like using bottled paint and a brush.
- Allow the entire rocket to dry before adding any decals.
- Finally, apply a top coat, flat or glossy, to protect the decals and the paint job.
A Few Tips
Do not get paint inside the rocket. It could make it difficult to fit the nose cone or the motor into the rocket.
Also avoid spraying inside the launch lug.
Chose a darker primer for darker paint and a lighter primer for lighter paint.
By selecting the best paint and carefully painting your model rocket, you will ensure that your rocket looks good and flies well.
Build Your Own Launch Controller
Don’t forget! You can ditch the stock controllers and confidently build your own from scratch using our step-by-step instructions and exact materials list! We promise this will make your launch experience 10x better, and using our course License to Launch you can be 100% confident you’ll be able to finish this project and be super proud of what you’ve built! Here’s a sneak peek below.