Model rockets are amazing, aren’t they? You work hard putting them together to wait for that special moment when all that work comes to fruition just to send it up to space and wave bon voyage to it. At least that’s what I thought was going to happen as a kid. The reality is very different. You still work really hard to put it together to launch it, but it doesn’t go to outer space. A parachute pops up and sends it down.
How does a model rocket parachute deploy?
The parachute of a model rocket is deployed in two stages. The first stage launches the rocket upwards. The second stage deploys the parachute through a small explosive charge upwards inside the rocket tube up to the nosecone, pushing the parachute out and releasing it.
It seems pretty simple, right? While the concept is not a difficult one to understand, we are going to explain how the parachute is incorporated into the rocket and then deployed upon reaching the end of its launch for recovery. There are also other methods of safe recovery that we are going to examine as well, including parachutes, streamers, and radio-controlled recovery methods.
Are you still using the standard Estes controllers for your launches?
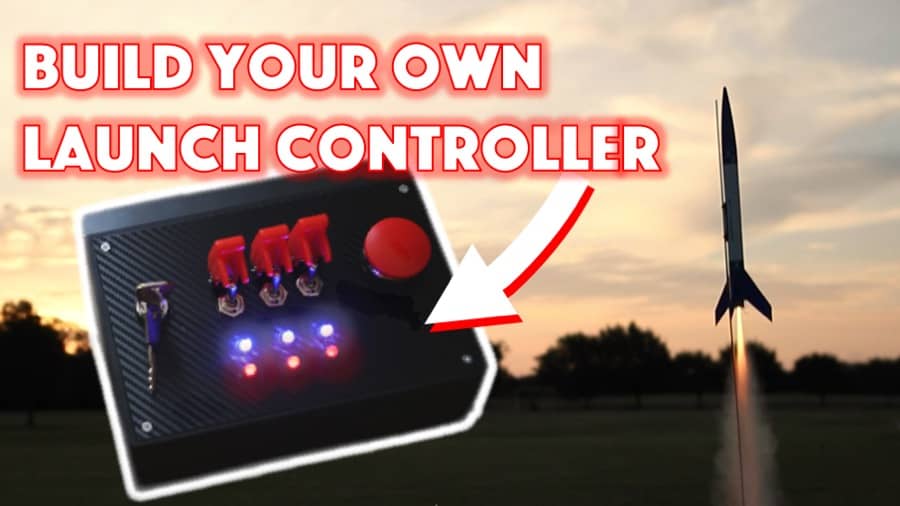
We just built our own beautiful launch controllers that make launches SO much more fun, and we documented EVERY single step and item purchased and put it into a step-by-step course that teaches you how to do the exact same thing.
Click here to learn more about how you can build your own launch controllers!

The Stages of Model Rocket Parachute Deployment
Most model rockets that are constructed by amateur rocketeers depend upon the implementation of a timer-based parachute deployment system. This is the two-stage system that we had spoken about earlier. Let’s examine it a bit further.
Stage 1 of Model Rocket Parachute Deployment: The Launch
Before the parachute can deploy, the rocket first has to launch. That’s why many rocketeers consider the launch the first stage. Within a timer-based deployment system, the time of deployment of the parachute is affected by the actual amount of propellant available to the rocket.
The more propellant that is available, the longer the delay of the model rocket’s parachute release. Inversely, the less propellant available to the model rocket’s engine, the shorter the delay in the release of the parachute. The amount of fuel determines both how high the rocket will fly and when the parachute deploys.
In fact, the naming methodology of the rocket engines follows burn time for the engine itself and the delay (in seconds) before the parachute deploys. You can read more about model rocket engine sizes and classifications here.
The timer-based deployment system’s first stage is also dependent upon environmental factors as well. Launches that are going to be conducted on days that are going to have low wind resistance and clear skies will have optimum conditions for launch (see our article on the maximum wind speed for a model rocket launch).
If the model rocket is launched in conditions other than what is considered ideal, the flight path can be affected. In addition, the propellant may also be used prematurely. This will cause an early deployment of stage two. This can be detrimental when studying the rocket for ideal flight and launch statistics. Speaking of statistics, a good place to start when measuring rocket statistics would be with a model rocket accelerometers and altimeters (link to our starter guide article).
Another aspect, along with less than ideal weather patterns, that will affect this stage of deployment is the size and weight of the model rocket. If you are going to be using a larger rocket that has a little more weight behind it, it will make the timer-based deployment less dependable. With this in mind, it is best to utilize this type of deployment system with a smaller and lighter model rocket.
Stage 2 of Model Rocket Parachute Deployment: Release of the Parachute
Within a timer-based model rocket parachute deployment system, the amount of propellant that the rocket has in conjunction with the weather patterns and size/ weight of the model rocket is going to determine when the second stage of the model rocket’s parachute is engaged.
The second stage of the model rocket’s parachute deployment system is engaged at the end of the first stage, which is going to be when the model rocket’s motor has exhausted all of the propellant that was available to it for the launch and flight.
At the end of the first stage, the model rocket will engage a small charge that will blast back upwards through the model rocket tube towards the direction of the model rocket’s nosecone. This will force the parachute through the top of the model rocket (nosecone). Once the descent begins, the parachute will catch the air underneath it, causing it to open up and come back down for safe retrieval.
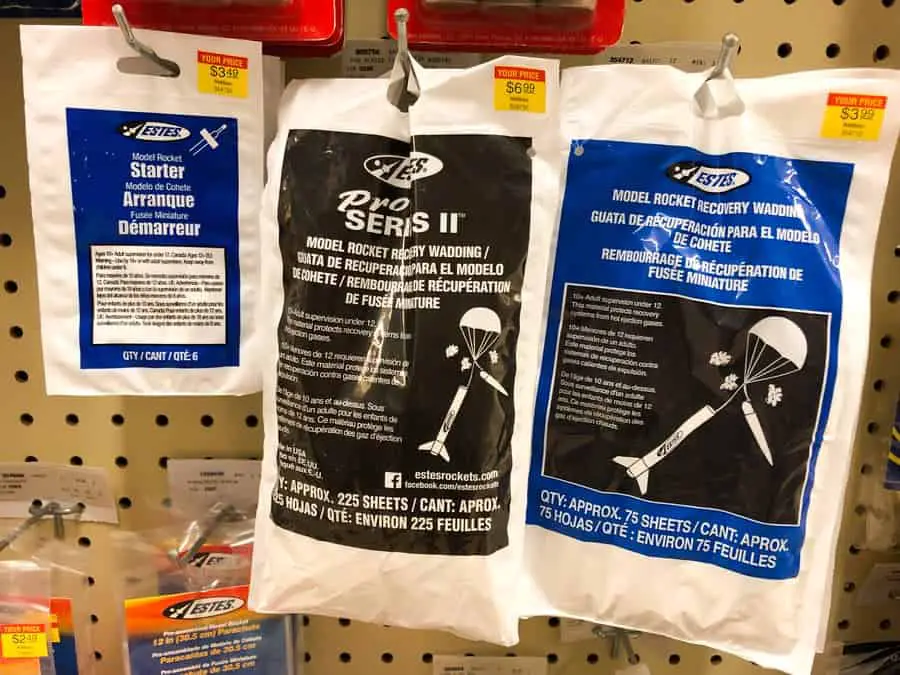
Rocketeer Safety Note: There needs to be something in between the blast charge and the parachute (recovery wadding) prior to launch to ensure that the model rocket’s parachute system is properly engaged at the beginning of the second stage. If this step is neglected, the parachute can melt when the second stage begins, and the parachute won’t be engaged. We highly suggest basic model rocket wadding but if you are in a pinch, here are some model rocket wadding alternatives as well.
Other Safe Methods of Model Rocket Retrieval
Like we explained earlier, there are a few different methods to safely retrieve a model rocket after flight, aside from the use of a traditional parachute. We are going to examine two of these other methods– streamers and radio-controlled glider systems.
Streamers as a Model Rocket Recovery System
Streamers are very similar to parachutes in terms of functionality and method of engagement. They also utilize the same two stage parachute engagement system. Also, recovery wadding still needs to be applied in between the streamers and blast charge to ensure that they are not destroyed when the second stage is engaged. Here’s our article on model rocket parachute vs. streamers and when one is better than the other.
Radio Controlled Glider Model Rocket Recovery Systems
Radio-controlled gliders are another option that has been implemented as a method of model rocket recovery after being launched. According to Estes Rockets, this particular system is known as a boost glider.
Boost gliders are model rockets that function the same as your traditional rockets with an exception. They still rely upon being launched upwards through the engine and motor system that is installed within the model rocket. However, the method of recovery is different than the traditional parachute that comes out of the nosecone.
Instead, upon reaching the end of its initial launch, the boost gliders are engaged and actually increases the height that the model rocket reaches. After reaching and passing the boosting point, the rocket transitions into a glider configuration, and the rocketeer assumes radio control of their model rocket and flies it in a manner similar to a radio-controlled plane.
This method of model rocketry and recovery is fairly new but has come a long way. It is a bit more costly than the parachute and streamer options but is worth taking a look into. For more information and a more in-depth explanation of boost glider model rocket recovery systems and the history of it, don’t hesitate to view Estes Rockets’ technical report on boost gliders.
Things to Remember and Consider With Model Rocket Parachute Systems
Now that we have covered the stages of model rocket parachute systems and how they work, we are going to give you some tips on what to keep in mind when installing parachute systems into your model rocket. These tips will ensure the safe recovery of your rocket.
Parachutes and Streamers are Deployed by the Model Rocket’s Engine
The model rocket’s engine is what is responsible for the deployment of the parachute and the streamer recovery system. The small blast charge in the engine forces the parachute through the nosecone to be released.
Recovery Wadding is Essential to Ensure the Deployment of the Parachute Recovery System
The heat generated during the beginning of the second stage is great and will melt the model rocket’s parachute if you don’t remember to place recovery wadding in between the blasting cap and the parachute, or the parachute will surely fail due to melting during the engagement of the system.
Also, avoid using items like toilet paper or paper towels in place of recovery wadding. If you do, you risk the paper raining down fire upon bystanders, and the parachute may very well melt upon engagement.
Do not Pack the Parachute too Tight Into the Rocket
This is important, as well. If you pack the parachute too tight into the rocket’s nosecone, you risk the parachute not deploying at the end of the first stage. If it is too tight within the nosecone, the blast sent by the blasting cap will not push the parachute through the nosecone like it is supposed to and can still be melted by the blast despite the recovery wadding.
In Conclusion
Model rocket parachutes are deployed in two stage systems that begin with the launch of the model rocket. The actual parachute is engaged at the peak of the model rocket’s launch, signaling the second stage. Just be sure to use the appropriate recovery wadding to keep from dropping fire among the spectators.
There are other recovery methods as well that one can rely upon as well to include streamers that functions similar to parachutes and remember the radio control boost glider recovery method for those who want more control over their rocket and its flight path.
The ability for the rocket to transition into a glider is phenomenal, but this option can cost more.
We hope that this article has been helpful to you and gave you the information you needed to know how a model rocket parachute works and make an educated decision on whether this recovery system is going to work for your model rocket. Have fun, rocketeers!
Build Your Own Launch Controller
Don’t forget! You can ditch the stock controllers and confidently build your own from scratch using our step-by-step instructions and exact materials list! We promise this will make your launch experience 10x better, and using our course License to Launch you can be 100% confident you’ll be able to finish this project and be super proud of what you’ve built! Here’s a sneak peek below.
