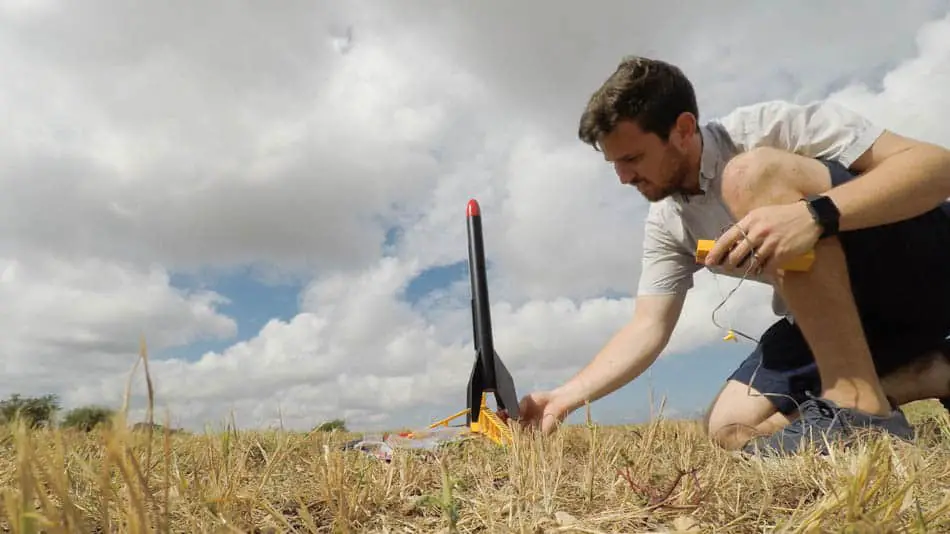
Nothing’s worse than setting up your brand new model rocket, and the engine refuses to ignite. No ignition, no flight. Big disappointment. Luckily, there can sometimes be an easy fix.
What do I do if my model rocket engine won’t ignite? If your model rocket won’t ignite, check the launch controller, the igniter, the igniter’s contact with the engine, or the engine. In order for a rocket to launch, there needs to be adequate electricity that lights the igniter that then ignites the engine, so diagnose the problem in that order.
If your engine won’t ignite at first, this can be easily diagnosed in a few steps.
Are you still using the standard Estes controllers for your launches?
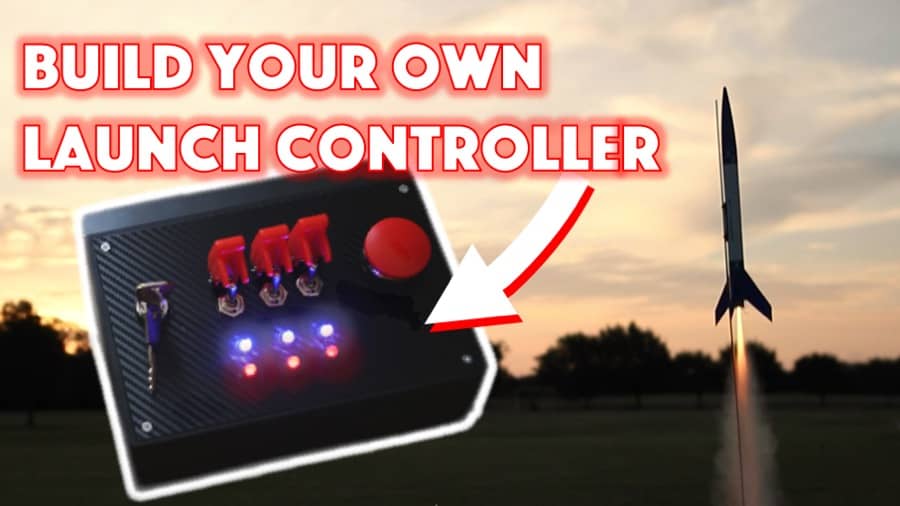
We just built our own beautiful launch controllers that make launches SO much more fun, and we documented EVERY single step and item purchased and put it into a step-by-step course that teaches you how to do the exact same thing.
Click here to learn more about how you can build your own launch controllers!
What do I do if my model rocket engine won’t ignite?
In order to troubleshoot launching a rocket, we need to break apart each step that must occur for a successful ignition and isolate each piece of that process to identify the problem. I like to think of things in the order in which they must happen, and diagnose sequentially from there.
As we covered in our article on how to launch a model rocket, we know the requirements for launch are a source of energy (usually a battery powered launch controller) to light igniters that then ignite the engine. Here there are already three different things that can be going wrong, so let’s diagnose them in that order.
Step 1: Check the Launch Controller
Typically model rockets are ignited using a battery-powered launch controller. For Estes rockets these are normally powered by AA batteries but models vary (for additional reading see our post on how many volts you need to launch a model rocket).
On the familiar (and generally trustworthy) Estes launch controllers (link to read reviews on Amazon) there will be a safety pin that needs to be inserted in order to activate the launch controller. If you push the launch button without first inserting the safety pin, the rocket will not launch.
Check the safety pin and make sure the light illuminates indicating there is continuity in the electrical connection. Sometimes this bulb can burn out so you won’t have a visual verification, but generally it works so if the bulb does not illuminate, try first switching out the batteries of your launch controller to see if that fixes the problem.
If using an older launch controller, the bulb might not work but that does not necessarily mean the connection does not work.
I have also read that regular non-reusable batteries have slightly more voltage than comparable rechargeable batteries. I don’t think this is enough to make a difference in a launch, but if low batteries are the suspected cause it is easy to simply swap batteries and see if that is the issue.
Secondarily, try wiggling the safety pin in the key hole, as there could be something blocking the connection.
If you are using a launch controller where the electrical wires are manually connected/disconnected to the launch controller, ensure that they are inserted properly (the Estes controller has the electrical wires already connected internally).
Telltale Sign Your Launch Controller is the Issue
One clear way to know if your launch controller is the issue in a failed ignition is if your igniter is still unburned after the failed launch attempt. This (more than likely) means that it never received the electricity needed to ignite. This could be an issue with the electricity in the launch controller itself, or the connection either within the launch controller or the connection to the igniter. Try re-adjusting the clips connecting to the igniter and ensure one didn’t fall off or didn’t have a loose grab on the igniter wire ends.
If all of these look good and you know you should have the required electricity, move onto diagnosing the igniter.
Step 2: Diagnose the Igniter
If you have good electricity in the launch controller, the next step is to check the igniter. The igniter is heated by the electrical system and rapidly catches flame to then ignite the actual engine.
First, make sure the electrical clips are properly connected to the ends of the igniter wire. Sometimes they can slip off and not be fully connected which could jeopardize the ignition. Also make sure they are clean of residue. Lastly you also want to make sure the clips are not touching any other metal (such as the blast deflector plate) which could interfere with the electrical current needed to light the igniter.
Next, pull the igniter out of the rocket and see if it is burned or still unused. If it did not ignite but you are certain your launch controller is working, the issue is either in the connection to the igniter, or the igniter itself. If you are positive your connection is sound, try another igniter.
If you need a refresher, here are the steps to properly install a model rocket igniter:
- Cut through the tape that is separating the igniters but does not remove the tape.
- Separate a plug from the strip of plugs.
- Put the igniter into the engine. The igniter needs to touch the propellant. Make sure you don’t bend the igniter.
- Put your plug into the engine nozzle (keep the wires straight).
- Firmly push the plug into the engine
- Bend the igniter wires back and form the leads into a U shape. Make sure you hold down the plugs with your thumb as you bend the wires.
- Examine your micro-clips to make sure they’re clean. Attach your micro-clips to the igniter wire leads and arrange the clips, so they aren’t touching each other, the metal blast reflector, or the launch pad.
If after a failed launch you remove the igniter and has combusted but the engine did not ignite, then it was likely either because the igniter was not installed properly and wasn’t able to ignite the engine, or the engine could be faulty.
Step 3: Diagnose the Engine
If you are certain your launch controller is providing energy, and your igniter is lighting, but the engine won’t ignite, then the issue is likely the engine itself (assuming the igniter was installed correctly… see above).
Estes rocket engines have a very long shelf life (see our article on how long does a model rocket engine last), and so if they were stored in a cool dry place, shelf life likely is not the issue causing the engine to fail to ignite.
If you left the engines in the trunk of your car for the last year in a warm climate and experienced extreme temperature changes on a daily basis, then engine erosion and degradation could be suspect. Otherwise this probably is not the issue.
This might sound obvious, but also make sure the engine isn’t visibly damaged or clogged with foreign objects. If you went through all of these steps and the rocket still won’t ignite, then try a different engine.
In my experience, a failed launch is usually because of electrical problems or igniter installation or connection. I haven’t personally experienced a rotten engine that wouldn’t ignite despite all of the other components operating properly.
Conclusion
While these are rockets after all, diagnosing a failed model rocket launch doesn’t have to be “rocket science.” The best way to diagnose is just to go through each of the components of the rocket, the engine and igniter attachments, and launch controller / electrical system to make sure they are all working properly. Often times it is an incorrect installation of one of these components that can quickly be fixed and your launch can resume as planned.
Always exercise extreme caution when dealing with and troubleshooting rockets and their associated components. These are often highly flammable materials you’ll be working with that need to be treated with caution and respect. Stay safe out there!
Build Your Own Launch Controller
Don’t forget! You can ditch the stock controllers and confidently build your own from scratch using our step-by-step instructions and exact materials list! We promise this will make your launch experience 10x better, and using our course License to Launch you can be 100% confident you’ll be able to finish this project and be super proud of what you’ve built! Here’s a sneak peek below.