One way to enjoy model rocketry beyond constructing and launching the rocket is to learn how to attach a camera to it. A camera can capture video of the rocket’s launch and flight, not from a ground view but from an eye view of the rocket itself. However, most model rockets require accurate and precise construction and are not designed to carry cameras in flight. Therefore, it’s important to choose the right camera and properly attach it to a rocket to avoid damaging the model.
So, how to attach a camera to a model rocket?
- Choose a camera suitable for mounting to a model rocket.
- Consider the facing direction of camera.
- Choose a mounting method and attach the camera to the rocket.
There are many benefits that come with building a model rocket, and even more so with attaching a camera to it. Doing this activity enhances learning for aerodynamics, chemistry, physics, and other STEM subjects. STEM is an acronym that stands for the disciplines of science, technology, engineering, and mathematics, considered essential when it comes to higher level education and many professional career fields. Incorporating cameras and filming adds to the learning experience.
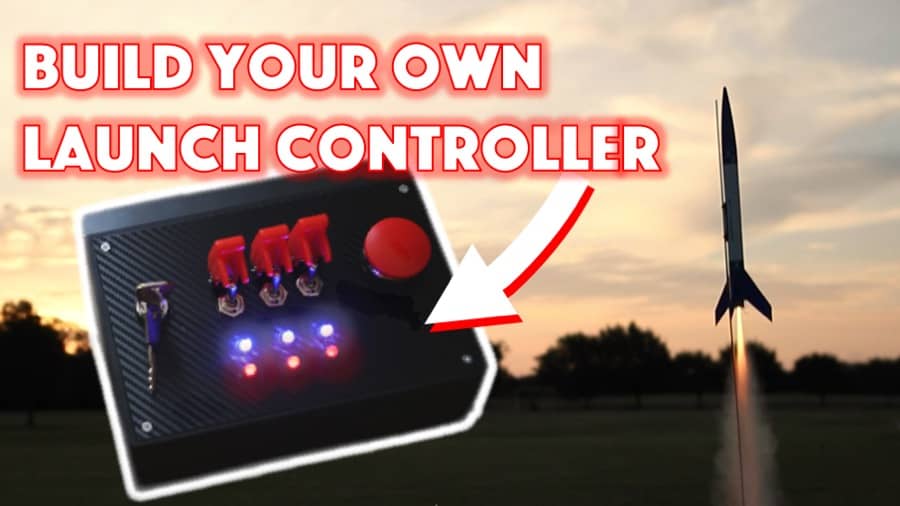
Are you still using the standard Estes controllers for your launches?
We just built our own beautiful launch controllers that make launches SO much more fun, and we documented EVERY single step and item purchased and put it into a step-by-step course that teaches you how to do the exact same thing.
Click here to learn more about how you can build your own launch controllers!
Step 1: Choosing from Suggested Mounted Cameras for Model Rockets
Though theoretically any camera could be attached to a model rocket and launched, this is unwise considering that the added weight of the camera might destabilize the rocket, and you could damage or lose both the model rocket and camera at the same time. Therefore, the best cameras to choose from for attaching to a model rocket are small, lightweight, and durable.
The smaller the camera, the more easily it will attach securely to the model rocket. In addition, the more lightweight the camera, the less it will impact the rocket’s performance during launch and flight. Cameras mounted to model rockets must also be durable, as this is an important factor in avoiding loss or damage to the rocket and camera itself during landing and recovery.
Some suggested mounted cameras for model rockets are primarily spy keychain cameras, USB cameras, mini or lightweight cameras, such as:
- 808 keychain camera
- Mobius Mini camera
- Hidden Nanny Cam
- (all links to Amazon to read reviews)
For more extensive reading (and examples of footage), see our article on best mounted cameras for model rockets.
Before attaching any camera to a model rocket, the first step is choosing which camera would be most effective for your filming purposes and the build of the rocket.
Step 2: Consider Facing Direction of Camera
Once you have selected a proper camera to attach to your model rocket, the next step is to consider which direction you want the camera to face.
The simplest way of attaching a camera to a model rocket is to have the camera directly facing down towards the ground.
However, there are ways to attach the camera in order to have it facing up towards the sky.
Some model rocket builders decide to mount the camera inside the rocket, which would provide a facing view with a horizontal direction. This direction may provide a wider scope and view of the rocket’s trajectory and flight path.
Step 3: Choose Camera Mounting Method and Attach It
There are a few ways to choose from when mounting a camera to a model rocket and attaching it. Once you have decided which camera to use for your model and the direction you want it to face, you can decide how to mount it and then go through the steps to attach it. The following mounting methods and attachment procedures can help you decide.
Electrical Tape
Using electrical tape is one of the most common and simple ways of mounting a camera to a model rocket. Electrical tape is flame resistant and generally easy to remove by peeling it away from the rocket and camera.
To attach a camera to a model rocket with electrical tape, you would simply wrap the tape around the rocket and camera without covering the camera’s lens. This is an excellent way for beginners to try out attaching a camera to a model rocket.
The technique of using electrical tape works best with very small, thin, and lightweight cameras such as keychain or USB cameras. It’s important when choosing this mounting and attaching method to use caution so that the flight path of the rocket is not destabilized or at risk for loss or damage when landing.
Velcro Button and Camera Hood
Camera hoods are aerodynamic plastic coverings that protect cameras from the force of air created by the rocket’s flight. They can be purchased for about $10. The idea behind using a camera hood as a mounting method is that it interferes less with the aerodynamic flight of the model rocket and protects the camera as well.
- To attach a camera using this mounting method, you would install Velcro buttons on both the rocket and camera.
- Then, you would attach the camera to the model rocket with the Velcro.
- Finally, you would install the hood over the camera. It’s recommended to install the camera hood securely with clear tape.
It’s important to remember that the camera hood cannot be permanently attached to the model rocket so as to remove the camera after the flight. In addition, camera hoods are available only in premade versions and will only fit certain camera and model rocket sizes.
Payload
Some model rockets are equipped with a payload section that can be modified in order to mount and attach a camera. The benefit of installing a camera inside the rocket itself is that it will reduce the force of drag on the rocket and result in less interference in the rocket’s flight. Installing a camera inside the rocket still adds weight, however, and if not attached properly to the center, it can make the rocket unbalanced.
In this case, the main issue comes with securing the camera in the rocket tube. If not attached effectively, the camera may fall out or shift its position so that it doesn’t align with the peephole for filming.
In addition, it’s important to consider that the method you use to install the camera inside the model rocket may vary depending on the size of the rocket and how difficult it is to fit your hand inside the tube to secure the camera.
If the rocket tube is big enough, tape can be used to secure the camera in place. Once the camera is mounted and attached, a peephole must be precisely drilled where the camera lens will fit. It’s best to do this before painting the model rocket.
There are even model rockets built with a clear payload bay already installed, such as the following:
All of these offer a clear payload bay that might make camera mounting even easier, or other payload ideas! See our article on 16 model rocket payload ideas for more inspiration here!
Avionics Bay
An even better way to mount and attach a camera to the inside of a model rocket is to use an avionics bay, which is also known as an altimeter or electronics bay (see our starter guide to model rocket altimeters and accelerometers – this is one of the most fun ways to add a new dimension of fun to model rocketry!) . These bays are made to fit below the nose cone of the model rocket. They securely hold and protect electronic equipment such as cameras.
To mount and attach a camera in this way, you would need to secure the camera to the mounting sled inside the avionics bay. If your camera doesn’t fit snugly against the side of the rocket, it’s likely to shift or become loose. To avoid this, you can build up the sled a little so that the camera rests flush with the rocket tube. Also, you would need to drill a precise peephole where the lens of the camera would be inside the rocket.
No matter what decisions you make involving attaching a camera to a model rocket, as long as you follow the proper steps, you will add a greater level of enjoyment and learning to the rocketry experience.
A Word of Caution
We’ve mentioned it several times in this article, but you really don’t want to attach anything to the rocket that will materially alter its flight path or ability to fly in the first place. Any time you are making adjustments or additions to your rocket, exercise extreme caution and also consider using a smaller engine size on the first flight to test the flight characteristics on a smaller scale.
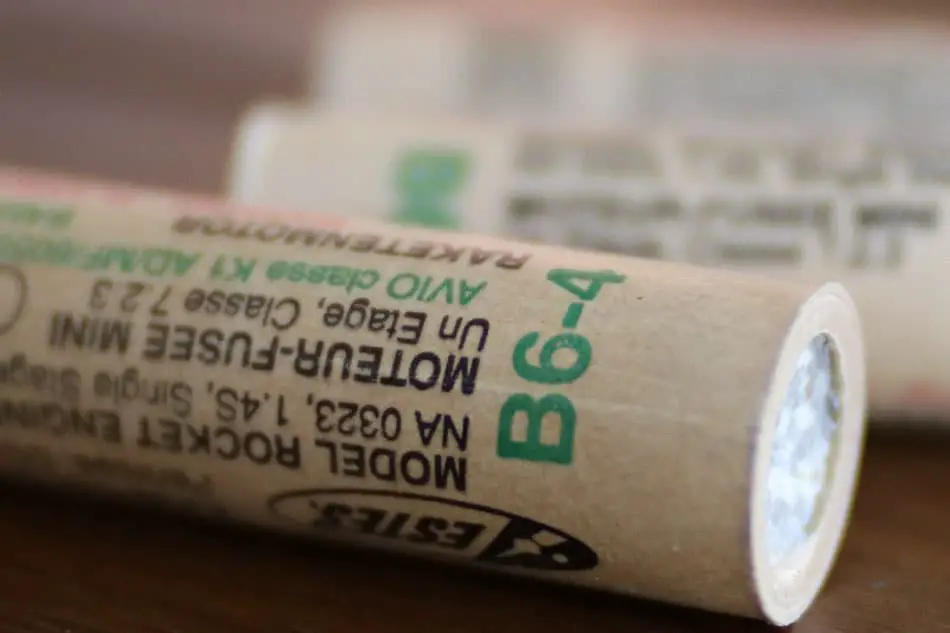
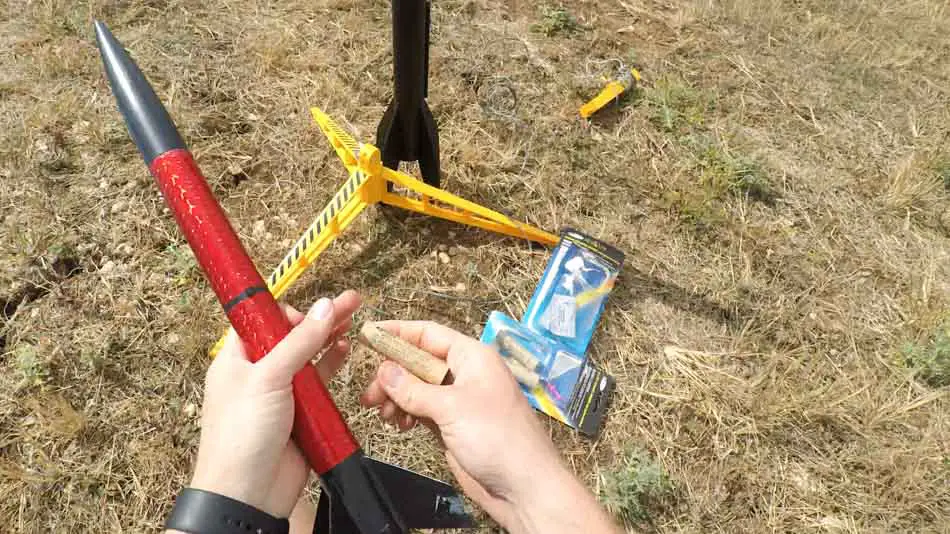
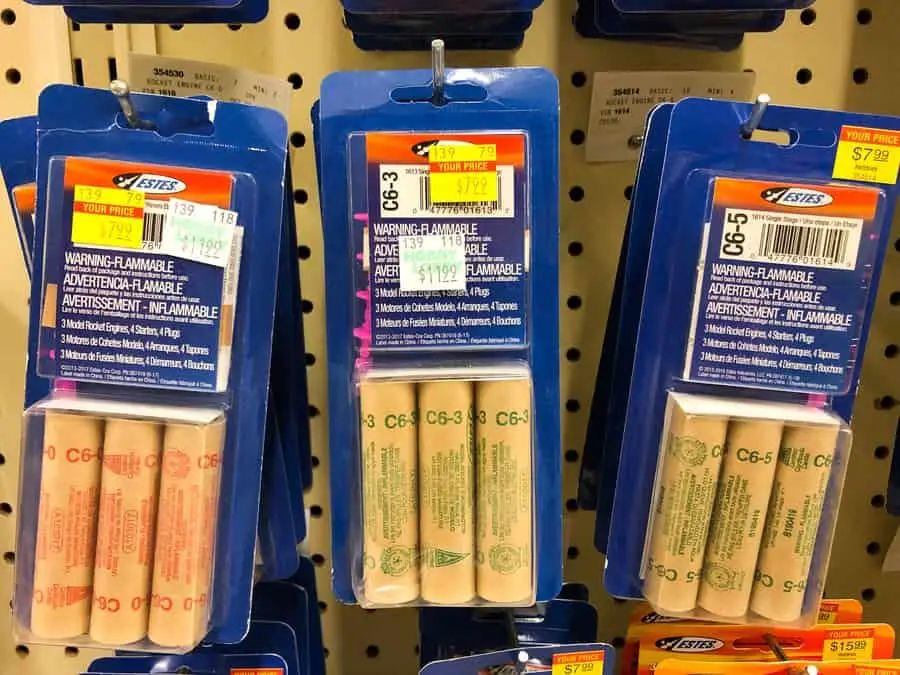
Also keep in mind that small estes rockets aren’t designed to lift much, but to give you more specifics we put a guide together that shows each model rocket engine size and how much it is certified to launch into the air. Make sure that your camera and mounting system doesn’t put you over the edge this maximum allowable weight!
Build Your Own Launch Controller
Don’t forget! You can ditch the stock controllers and confidently build your own from scratch using our step-by-step instructions and exact materials list! We promise this will make your launch experience 10x better, and using our course License to Launch you can be 100% confident you’ll be able to finish this project and be super proud of what you’ve built! Here’s a sneak peek below.